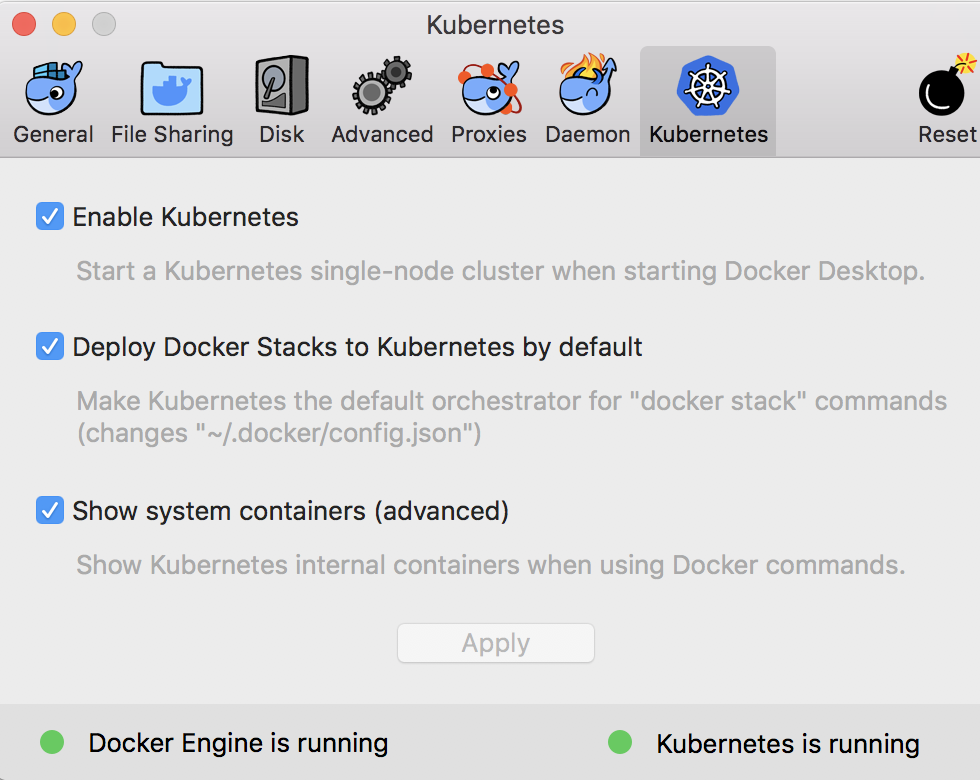
If you are looking to get your dev setup to use Dockers and run on Kubernetes then Docker have a much simpler option and in fact ready to use Kubernetes if you are on Docker Desktop 18.06.* or higher by using Desktop Docker or Docker for Desktop.Simply enable Kubernetes from the Docker desktop menu.
And if you want Kubernetes to be your default stack for deployment then you can enable it as below;

Assuming you have Kubectl installed separately, then you will be able to confirm that the Kubernetes cluster is setup by running the following;
$ kubectl config current-context
docker-for-desktop
If you want to check full info;
$ kubectl cluster-info
Kubernetes master is running at https://localhost:6443
KubeDNS is running at https://localhost:6443/api/v1/namespaces/kube-system/services/kube-dns:dns/proxy

To further debug and diagnose cluster problems, use 'kubectl cluster-info dump'.
And to check nodes in the cluster
$ kubectl get nodes
NAME                 STATUS   ROLES    AGE   VERSION
docker-for-desktop   Ready    master   4d    v1.10.11
Kubernetes Dashboard
Now that Kubernetes is fully up and running unfortunately it doesnt automatically enables any console or dashboard for you. Sometime its easier to check the web console, especially for demos or presentations, here is how we can enable web console / dashboard for Kubernetes.
First deploy the dashboard to the cluster;
$ kubectl apply -f https://raw.githubusercontent.com/kubernetes/dashboard/v1.10.1/src/deploy/recommended/kubernetes-dashboard.yaml

---
Output

secret "kubernetes-dashboard-certs" created
serviceaccount "kubernetes-dashboard" created
role "kubernetes-dashboard-minimal" created
rolebinding "kubernetes-dashboard-minimal" created
deployment "kubernetes-dashboard" created
service "kubernetes-dashboard" created
Next we deploy heapster to enable container cluster monitoring and performance analysis on the cluster;
$ kubectl apply -f https://raw.githubusercontent.com/kubernetes/heapster/master/deploy/kube-config/influxdb/heapster.yaml

---
Output

serviceaccount "heapster" created
deployment "heapster" created
service "heapster" created
Note: heapster is deprecated however its currently one of the only matrix provider.
Next we deploy influxdb backend for heapster to the cluster;
$ kubectl apply -f https://raw.githubusercontent.com/kubernetes/heapster/master/deploy/kube-config/influxdb/influxdb.yaml

---
Output

deployment "monitoring-influxdb" created
service "monitoring-influxdb" created
Next we create the heapster cluster role binding for the dashboard;
$ kubectl apply -f https://raw.githubusercontent.com/kubernetes/heapster/master/deploy/kube-config/rbac/heapster-rbac.yaml

---
Output

clusterrolebinding "heapster" created
You should be able to see all this running;
$ kubectl cluster-info
Kubernetes master is running at https://localhost:6443
Heapster is running at https://localhost:6443/api/v1/namespaces/kube-system/services/heapster/proxy
KubeDNS is running at https://localhost:6443/api/v1/namespaces/kube-system/services/kube-dns:dns/proxy
monitoring-influxdb is running at https://localhost:6443/api/v1/namespaces/kube-system/services/monitoring-influxdb/proxy
We can see that all services are runing.
And you can access Kubernetes cluster info using REST API;
$ curl http://localhost:8001/api/v1/
$ http://localhost:8001/api/v1/namespaces/kube-system/services/
Create an eks-admin Service Account and Cluster Role Binding
First create a file called eks-admin-service-account.yaml and add the following which defines a service account and cluster role binding;
apiVersion: v1
kind: ServiceAccount
metadata:
  name: eks-admin
  namespace: kube-system
---
apiVersion: rbac.authorization.k8s.io/v1beta1
kind: ClusterRoleBinding
metadata:
  name: eks-admin
roleRef:
  apiGroup: rbac.authorization.k8s.io
  kind: ClusterRole
  name: cluster-admin
subjects:
- kind: ServiceAccount
  name: eks-admin
  namespace: kube-system
Apply this to the cluster;
$ kubectl apply -f eks-admin-service-account.yaml

---
Output

serviceaccount "eks-admin" created
clusterrolebinding.rbac.authorization.k8s.io "eks-admin" created
Accessing the Dashboard
Before we can access we need the credential or token to login, which can be obtained with below;
$ kubectl -n kube-system describe secret $(kubectl -n kube-system get secret | grep eks-admin | awk '{print $1}')

Name:         eks-admin-token-bqkhw
Namespace:    kube-system
Labels:       <none>
Annotations:  kubernetes.io/service-account.name: eks-admin
              kubernetes.io/service-account.uid: d2250ec9-ad2e-11e9-8f5f-025000000001

Type:  kubernetes.io/service-account-token

Data
====
token:      eyJhbGciOiJSUzI1NiIsImtpZCI6IiJ9.eyJpc3MiOiJrdWJlcm5ldGVzL3NlcnZpY2VhY2NvdW50Iiwia3ViZXJuZXRlcy5pby9zZXJ2aWNlYWNjb3VudC9uYW1lc3BhY2UiOiJrdWJlLXN5c3RlbSIsImt1YmVybmV0ZXMuaW8vc2VydmljZWFjY291bnQvc2VjcmV0Lm5hbWUiOiJla3MtYWRtaW4tdG9rZW4tYnFraHciLCJrdWJlcm5ldGVzLmlvL3NlcnZpY2VhY2NvdW50L3NlcnZpY2UtYWNjb3VudC5uYW1lIjoiZWtzLWFkbWluIiwia3ViZXJuZXRlcy5pby9zZXJ2aWNlYWNjb3VudC9zZXJ2aWNlLWFjY291bnQudWlkIjoiZDIyNTBlYzktYWQyZS0xMWU5LThmNWYtMDI1MDAwMDAwMDAxIiwic3ViIjoic3lzdGVtOnNlcnZpY2VhY2NvdW50Omt1YmUtc3lzdGVtOmVrcy1hZG1pbiJ9.drpHB_Rjm7g0y2OlUz_wf9K2kJZTQcboVXbhDQxzkRIkO2LtJ5cCrXFVj7vMM_zYRAgWO8d9MQjyCIvRR4Zg6ELIHR9DfpQZbPVaemEu7Eaq-BcZ0oK1hqt2XzjWA1u4KU1Bhb4YfnTOsoeVJ2fweGmcay6eenQMi2DjUocjmZO6vIItsfAyaHV1_vU7KAbpsTIxinXVbCIy43P1UFL-yIu_ZGk5QB0C884ZzoEZP3Z44BD-QHQYh0eKagEXO8bJfM9JG75G5ysCLiIgiQ9xKfHJ_TCyT7CNdCdZbB8yL1-2xCagMAb3DaVtmHOL8-KrNGsqfMZjLWH2Fn-3gexeHA
ca.crt:     1025 bytes
namespace:  11 bytes
You will need the token to access, so copy from the above command output.
And then we can start the proxy to access the dashboard;
$ kubectl proxy
Starting to serve on 127.0.0.1:8001
This starts the dashboard on 8001 port, this is the default port which can be changed.
Finally, we can access the dashboard from the browser by accessing - http://localhost:8001/api/v1/namespaces/kube-system/services/https:kubernetes-dashboard:/proxy/#!/login
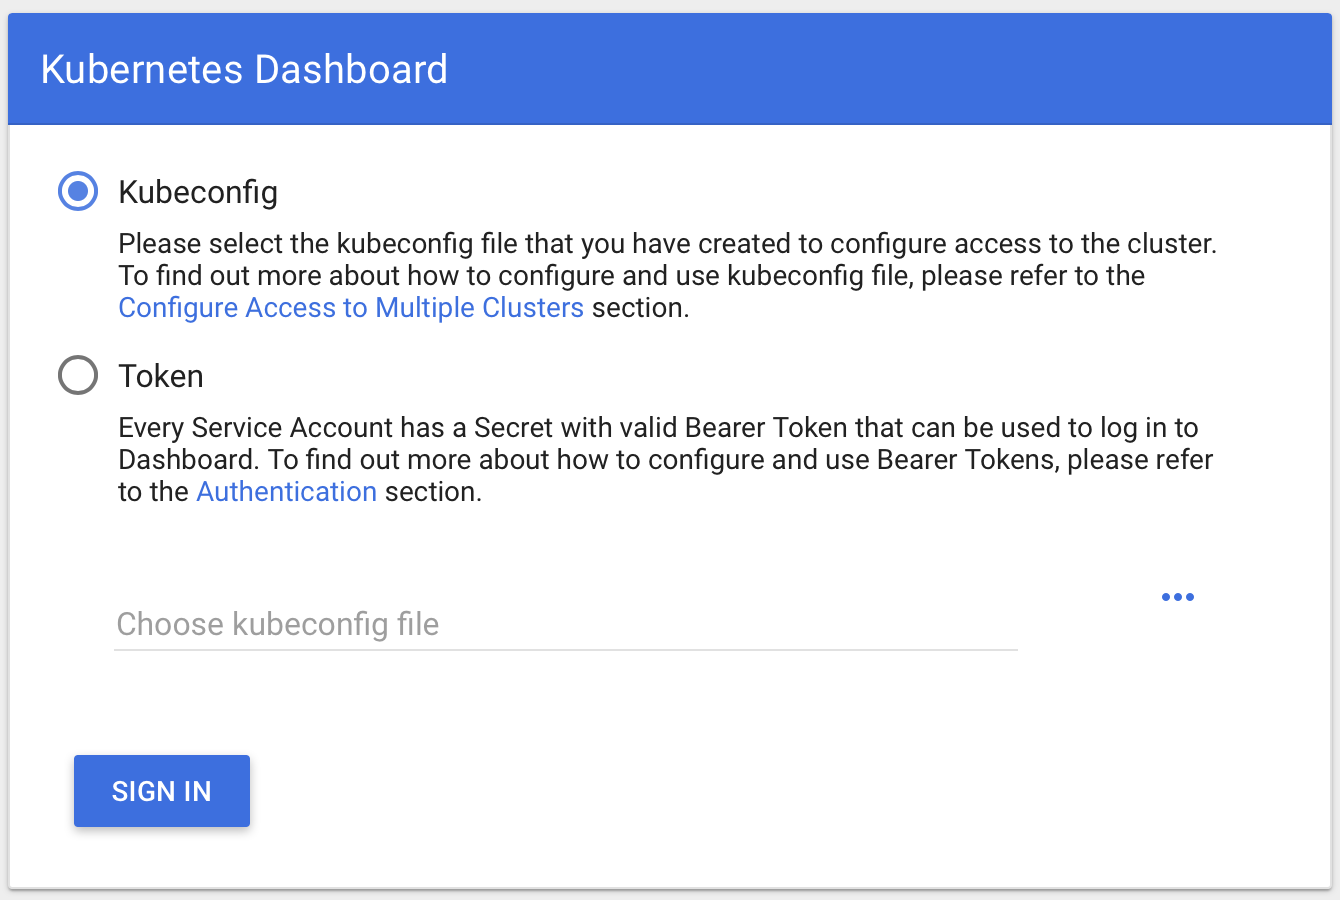
This will prompt for option;

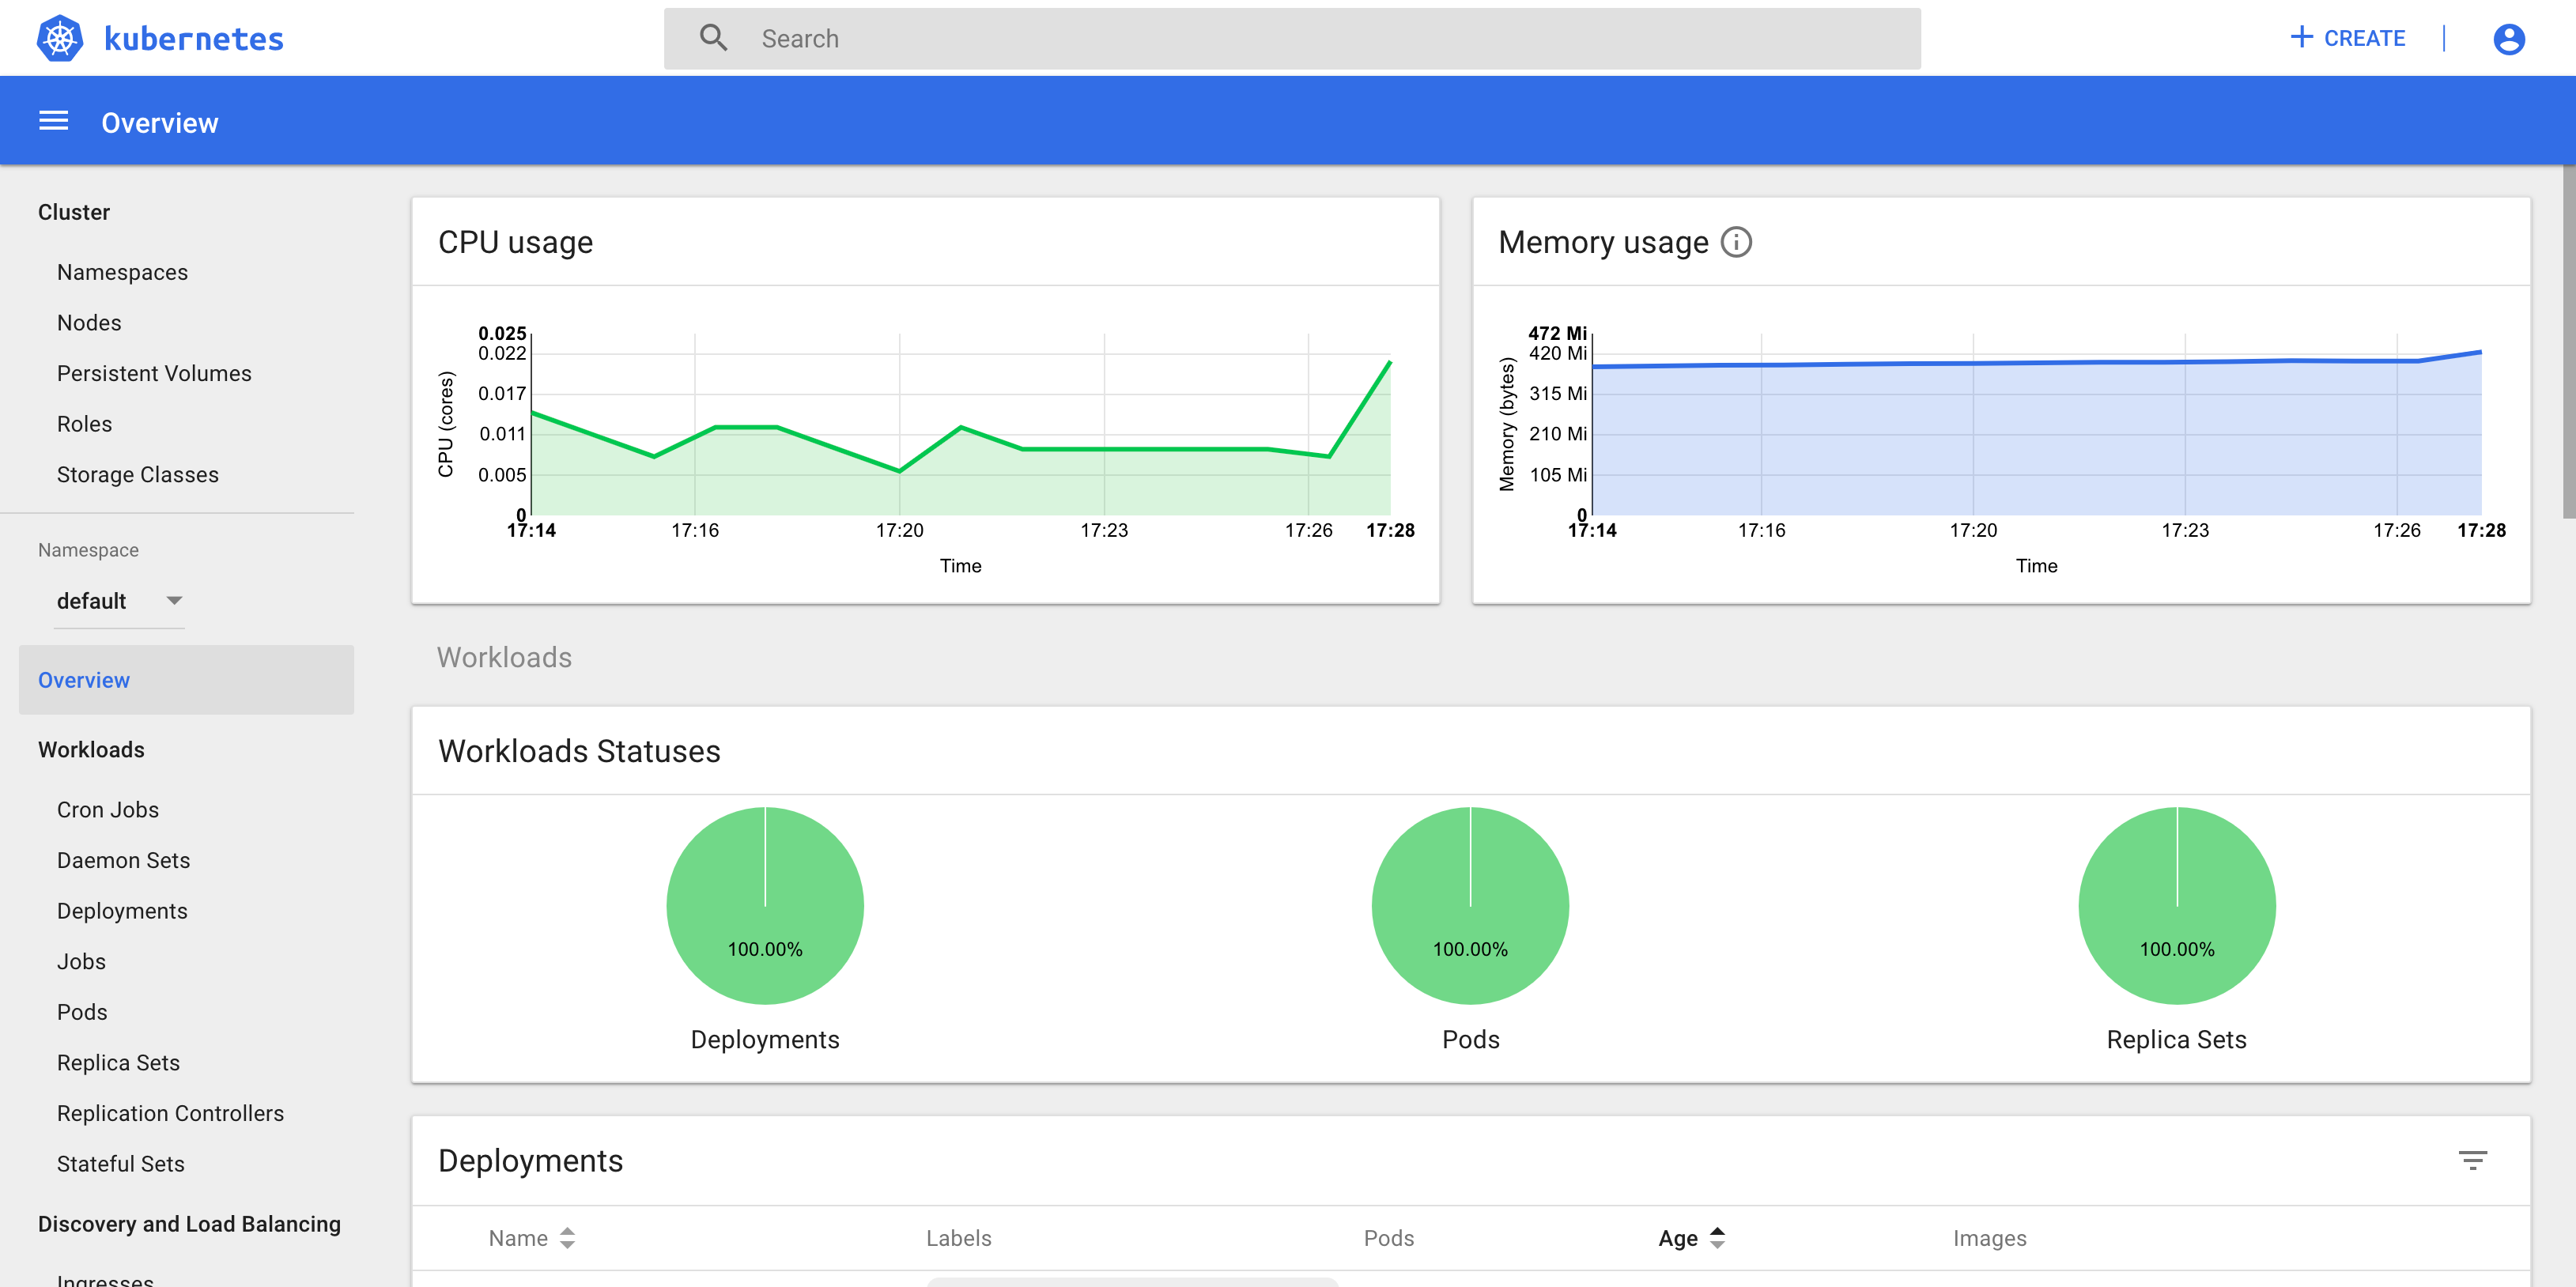
You can select Token option and enter earlier copied token to open the dashboard.

Deploying to Kubernetes cluster
Docker for deskop allows deployment to both Docker swarm or Kubernetes cluster quite easily.
Since we have enabled Kubernetes cluster to be the default in our case it will deploy to Kubernetes, lets say we want to deploy a simple Spring boot microservice to Kubernetes running with embedded Tomcat.
Lets create a Dockerfile under the root directory;
FROM java:8
VOLUME /tmp
EXPOSE 8080
RUN mkdir -p /app/
ADD build/libs/accounts-0.0.1-SNAPSHOT.jar /app/accounts-0.0.1.jar
ENTRYPOINT ["java","-jar","/app/accounts-0.0.1.jar","--HOST=localhost --PORT=8080 --consul.agent.host=host.docker.internal --consul.agent.port=8500"]
Create a docker-compose.yml file;
version: '3.3'

services:
  accountsapi:
    image: accountsservice
    ports:
      - 8080:8080
Then we can publish the docker to the Kubernetes cluster with;
$ docker stack deploy --compose-file docker-compose.yml accountsapi
Waiting for the stack to be stable and running...
accountsapi: Ready              [pod status: 1/1 ready, 0/1 pending, 0/1 failed]

Stack accountsapi is stable and running
I’ve used samples from here;
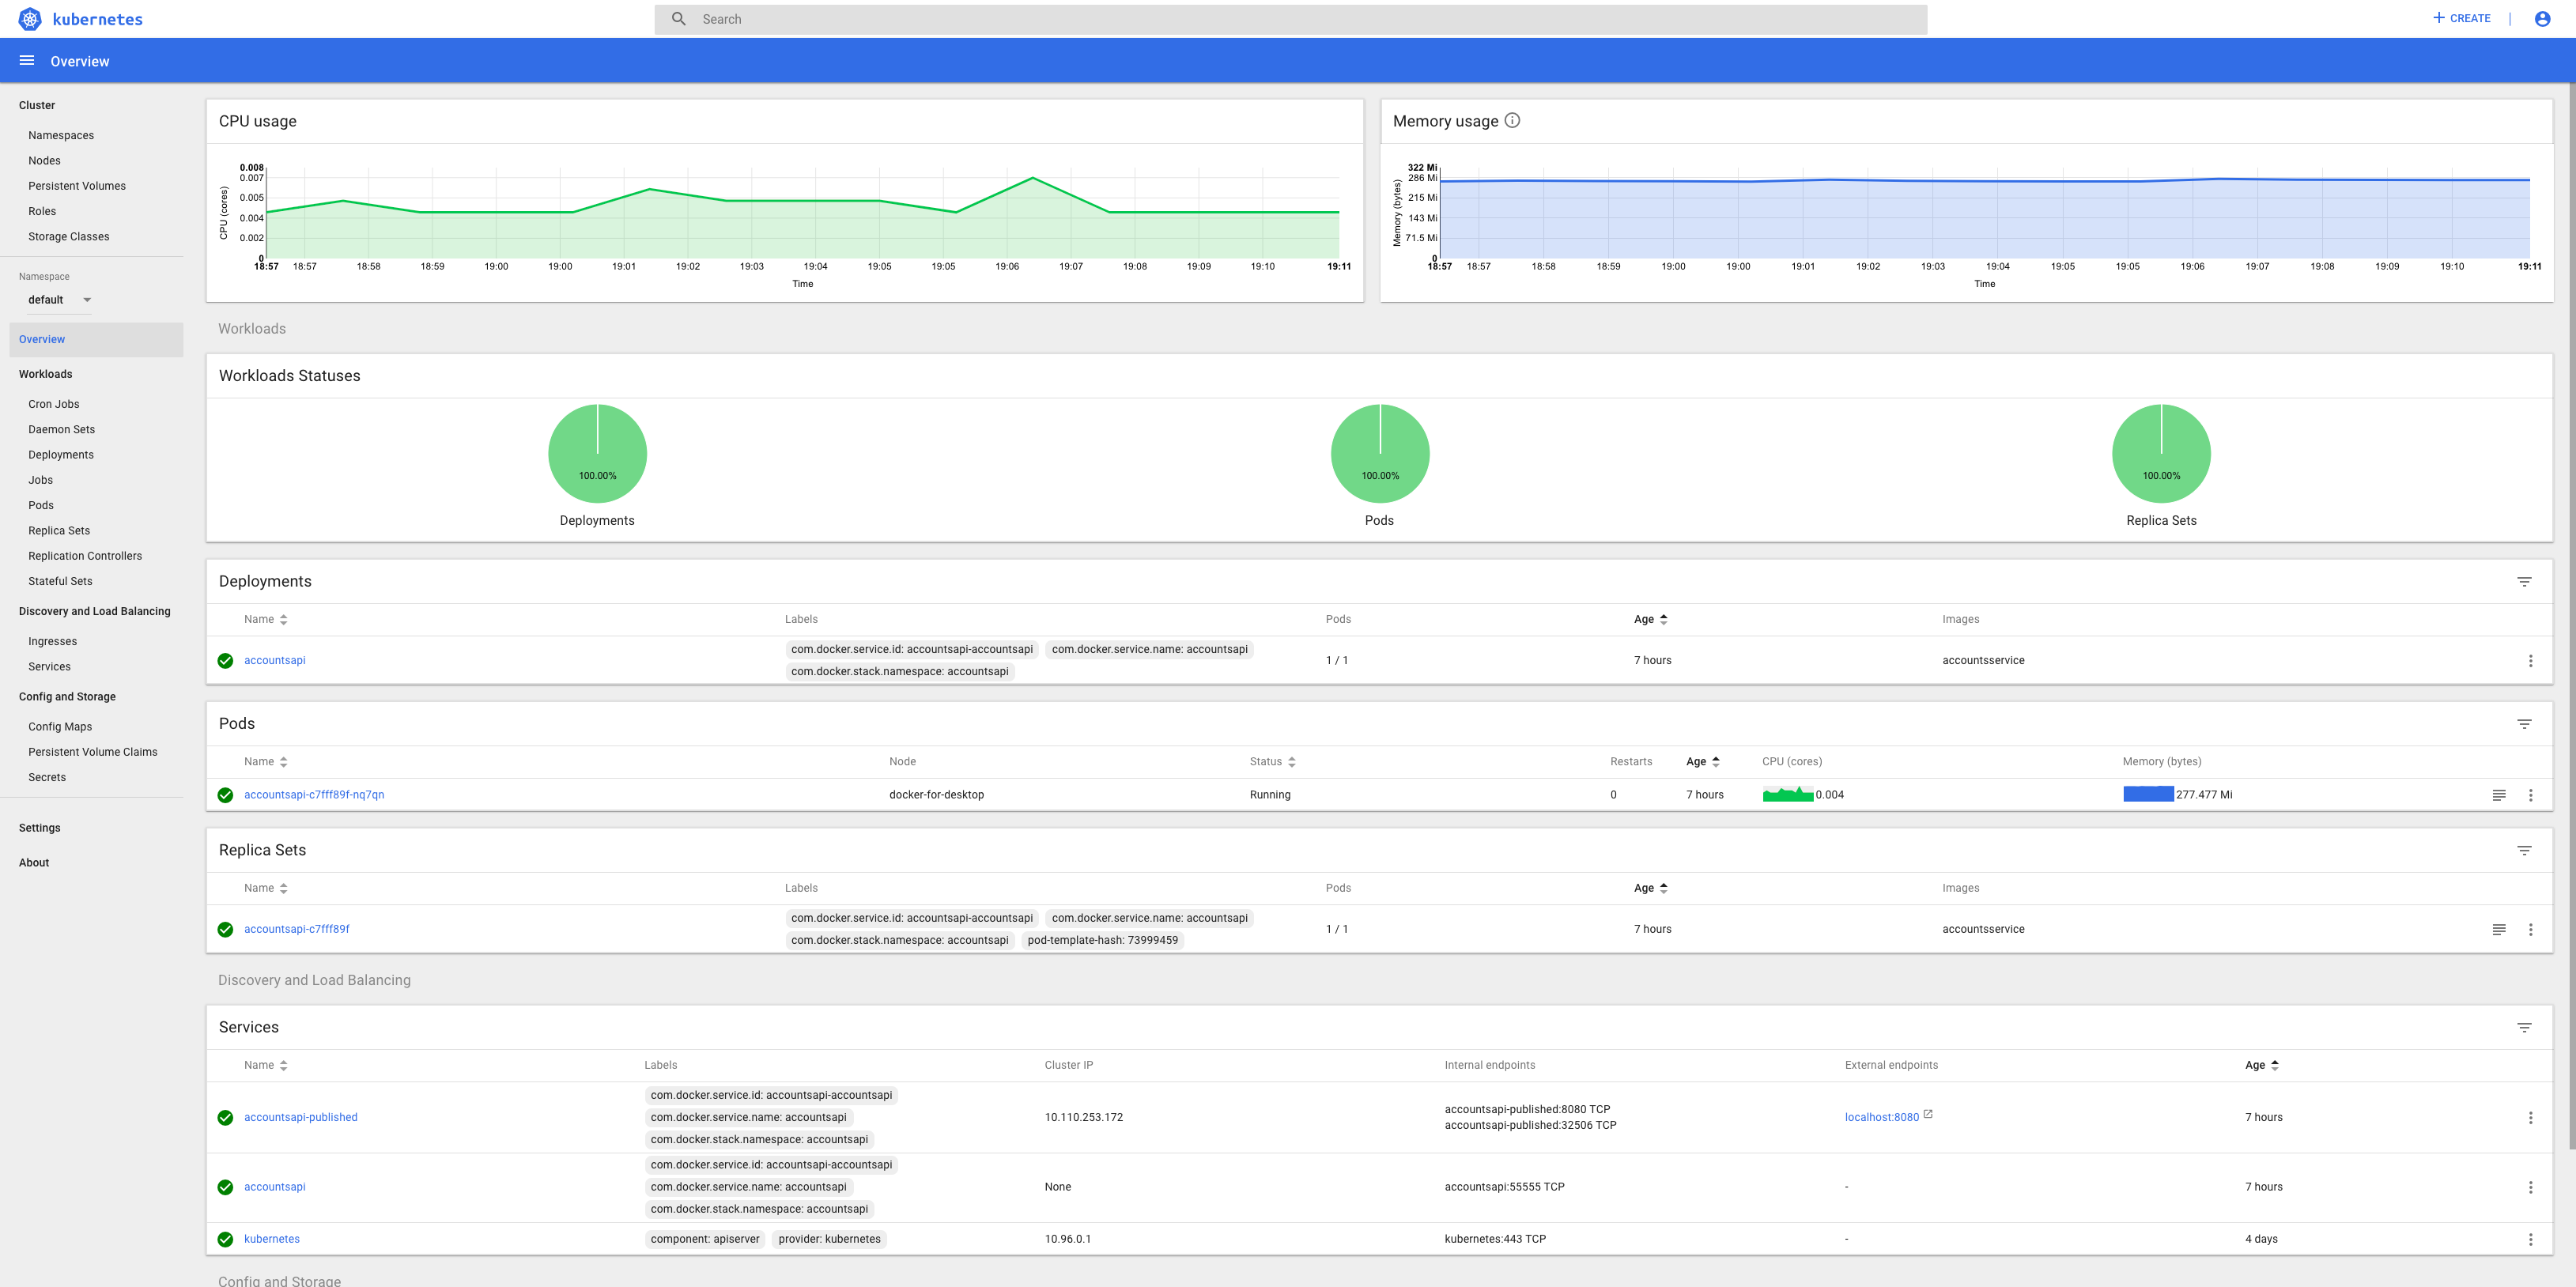
And we can see that the service is deployed successfully.

And that’s it!!
Offcourse there are many other things I’ve not outlined fully and many other ways this can be done.
And I am not fully sure (as have not tried) but I am guessing Docker Desktop (or Docker for Desktop) instructions should be similar for Windows platform too.
Good luck!!
